GTS Flux Inpainting Guide
I’m making this guide, because none of the guides/tutorials I found out there worked well with GTS content, or were using old stable diffusion models, which again I don’t think works well with GTS content. I ended up taking pieces from all of the different guides out there and think I got something that works well.
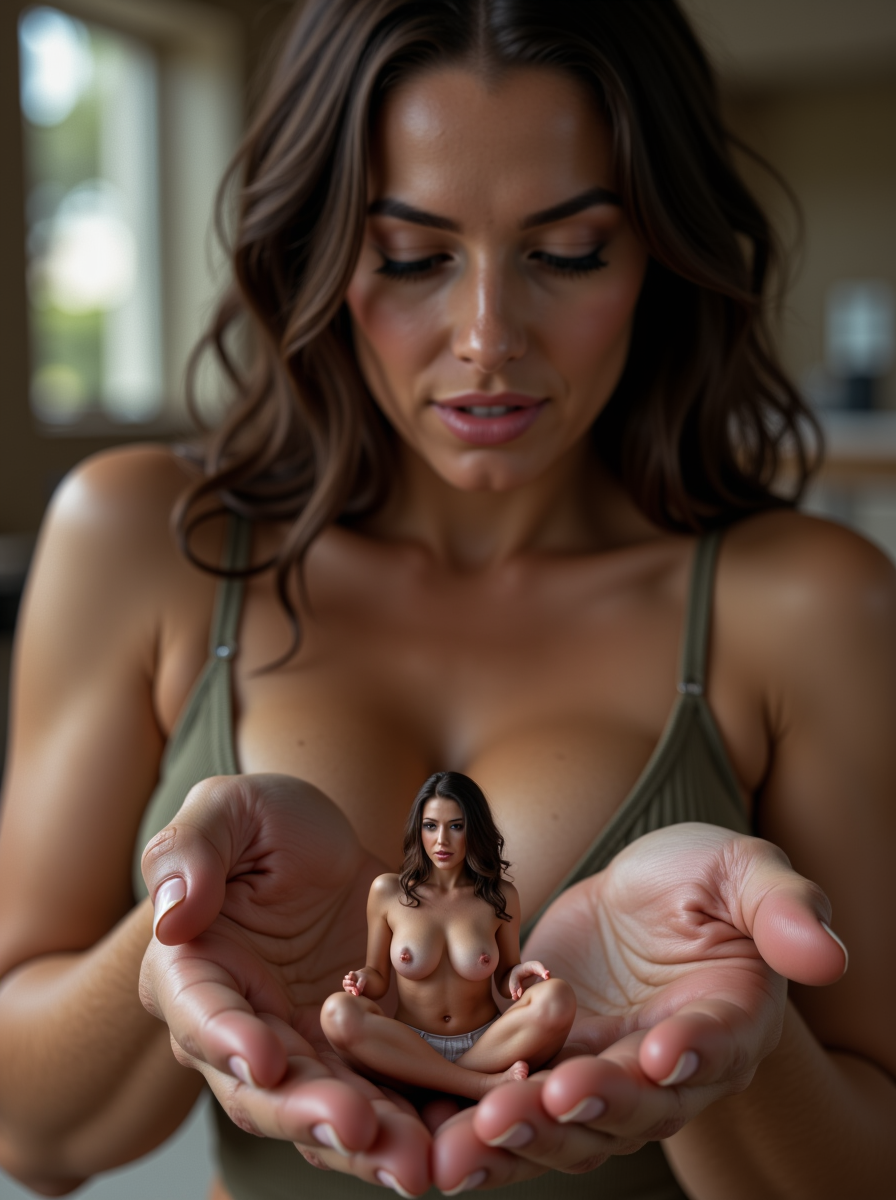
Most of the guides I’d found generated an entirely new image the exact same size as the original image, but because I am often looking for more details in small areas, say a shrunken man, I only want to generate an image for the masked content. This lets me just describe the masked area, and results in much more detail. The prompts are often much simpler too, as Flux can handle woman sitting cross legged much easier than it can handle giant woman with hands cupped, with another tiny woman cupped in her hands sitting cross leggeed.
Thus, we need to use the Inpaint-CropAdnStich ComfyUI plugin. to do the inpainting. I recommend using ComfyUI Manager to install the any missing plugins. I’m also using ImageComparer from rgthree-comfy package, but you can remove that node if you don’t want to install it.
Workflow
Here are 2 differnt ComyUI workflows you can load:
-
flux inpainting workflow
-
flux inpainting workflow - GGUF
This GGUF version is supposed to be faster and work with older GPUs, and it works well for me, though it is much more annoying to setup and requires a lot of separate files. I can’t remember what guide I used to find all the files, so…good luck.
-
Load the image you want to inpaint and mask the area you want to inpaint. You can right click and select
Open in MaskEditorto use a built in tool.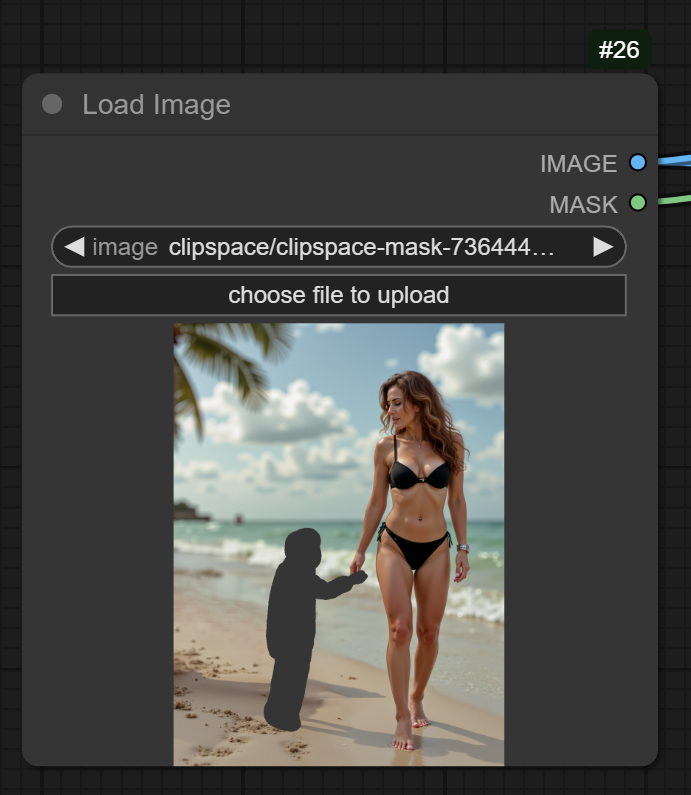
-
Inpaint crop - This sets up everything for the cropped inpainting. Feel free to change settings to your liking, but this works well for me on 1024 x 1024 base images.

-
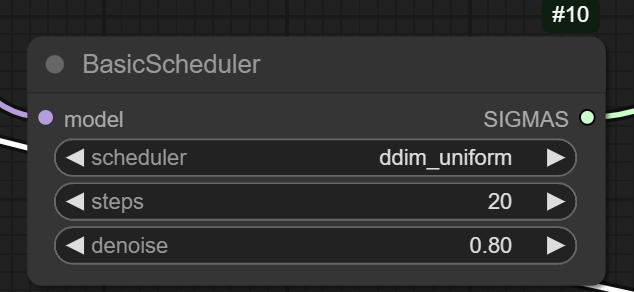
Generate Noise - the BasicScheduler determines how much noise to add to the image. This is something you will have to play with as the denoise value is very sensitive. I usually stick to between .75 and .85 for the denoise value. The higher the number the more different from your original, the lower the number the more it will follow your original. Scheduler type is not super important, I’ve used beta, simple, ddim_uniform and haven’t seen much difference.
-
Image Generation - With a simple prompt of
good looking man in swim suit, grabbing a large womans thumbI get the following results. Note: This is not the best image, but was just one being generated at the moment.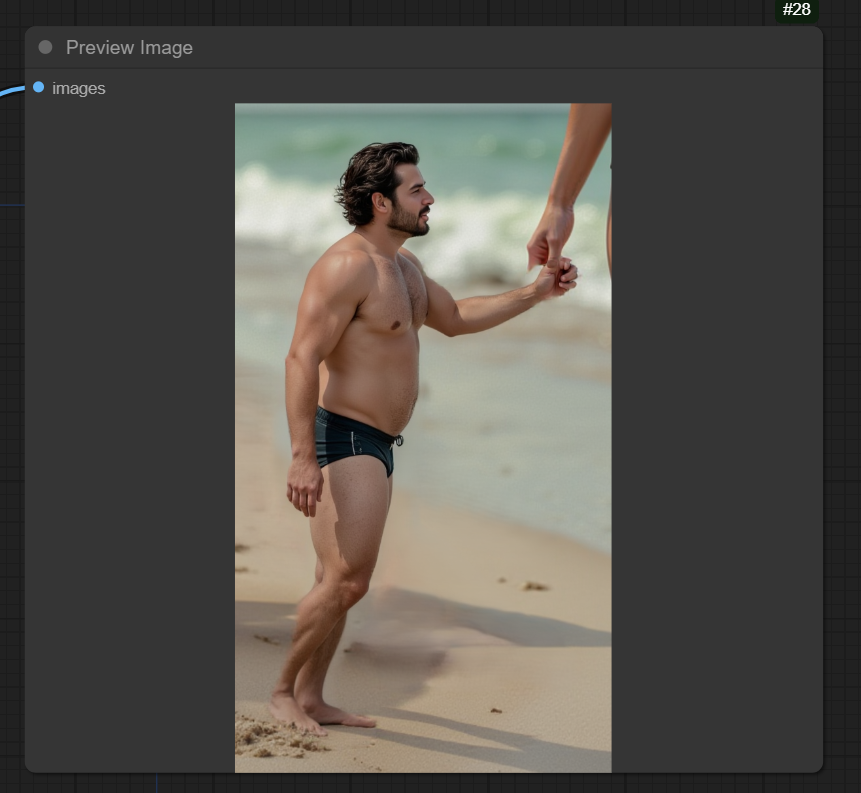
-
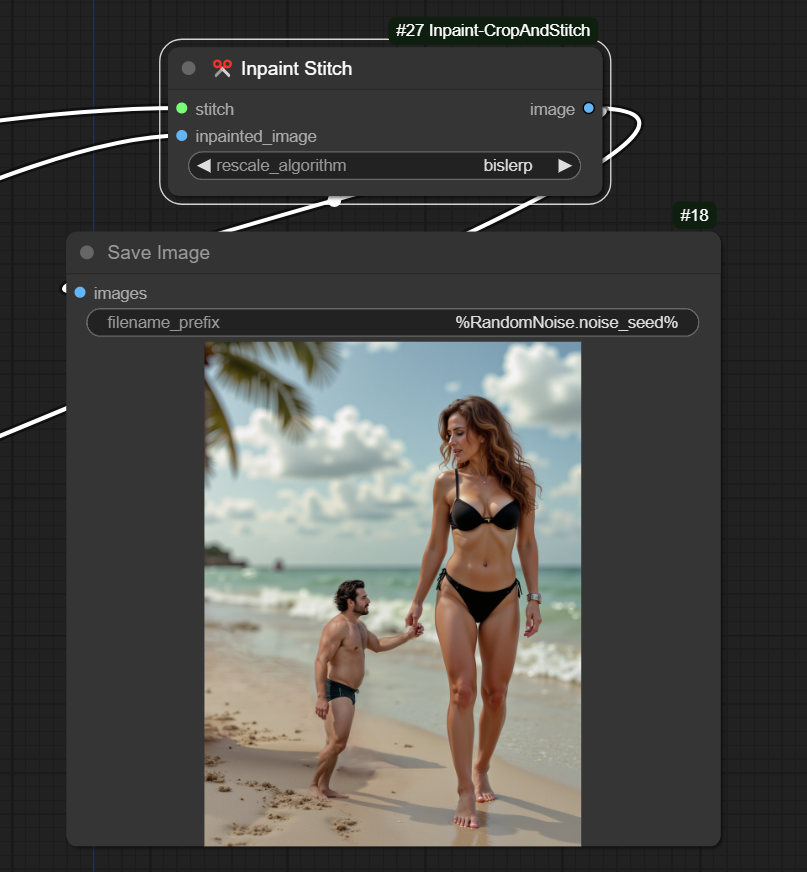
Image Stitch - Now the cropped image is combined with the original image to create the final image.
Examples
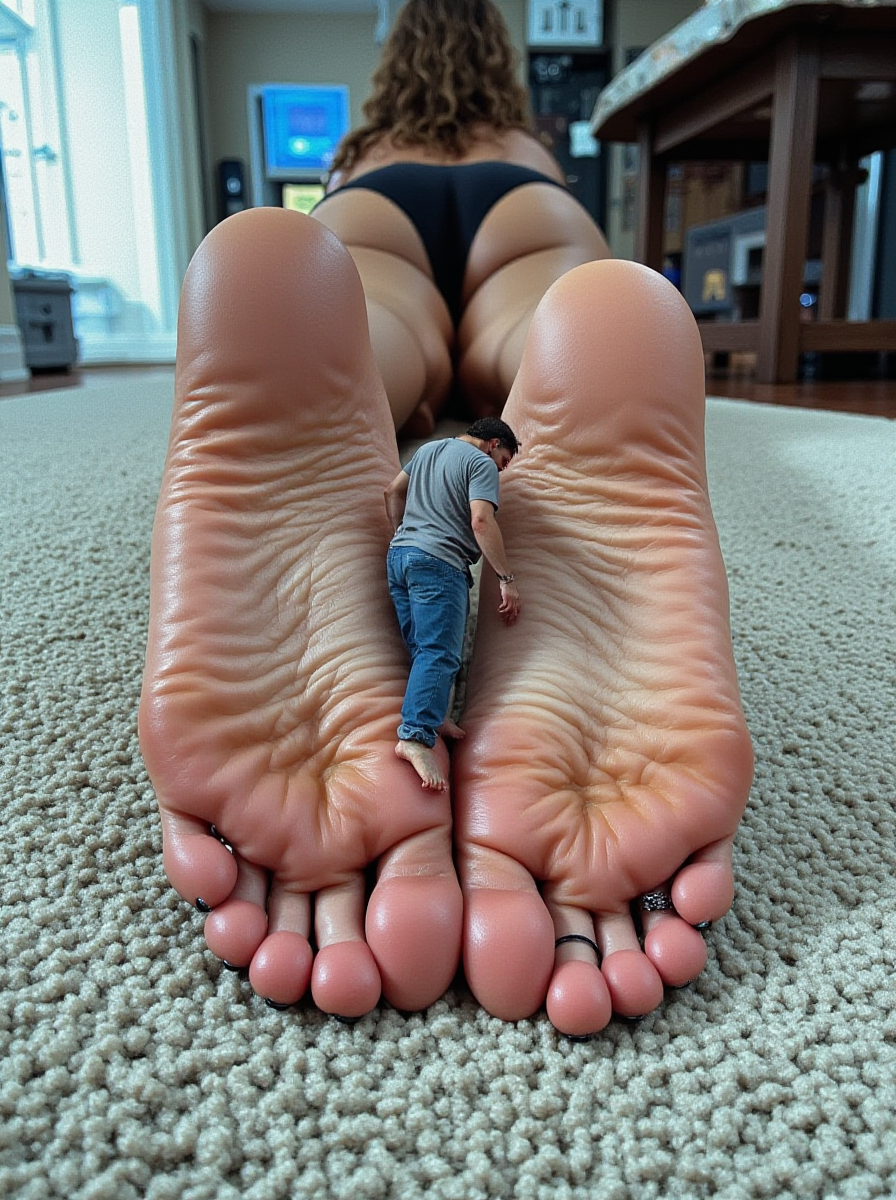
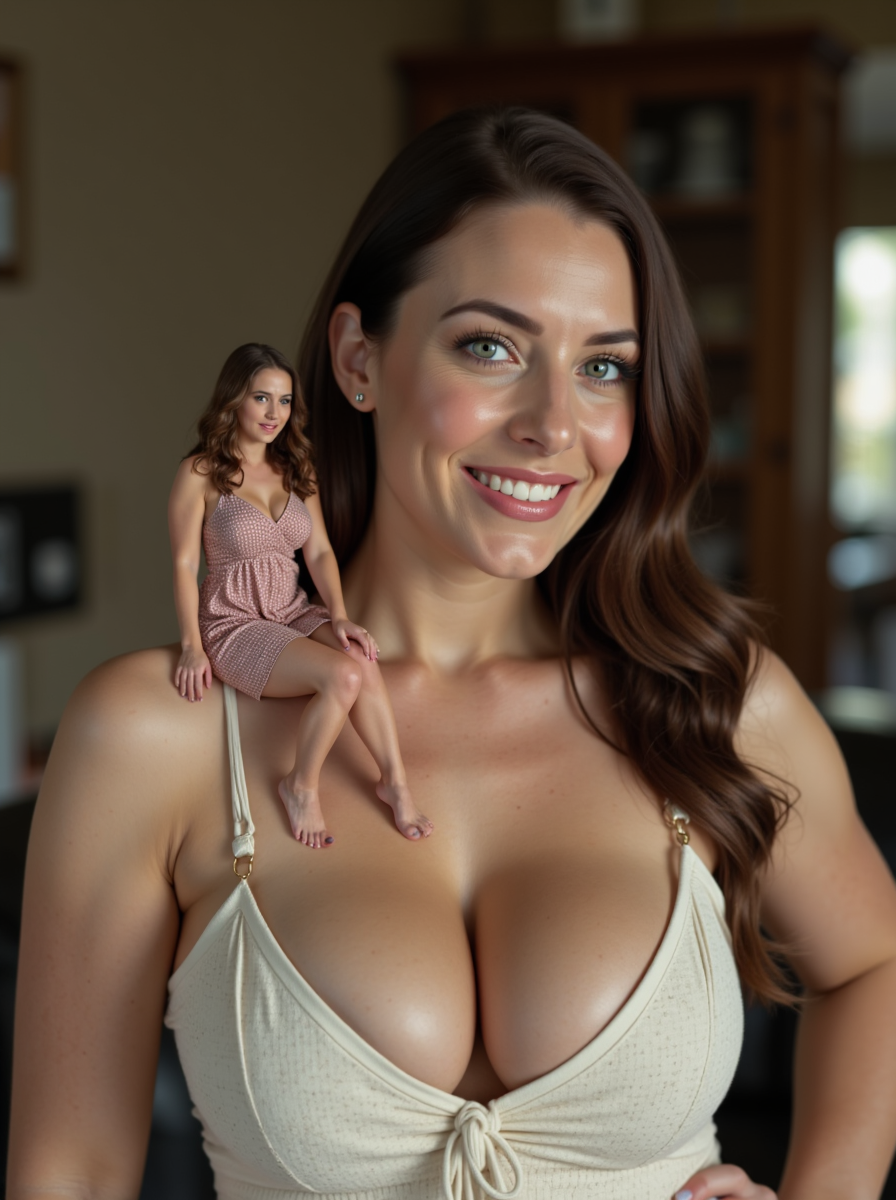
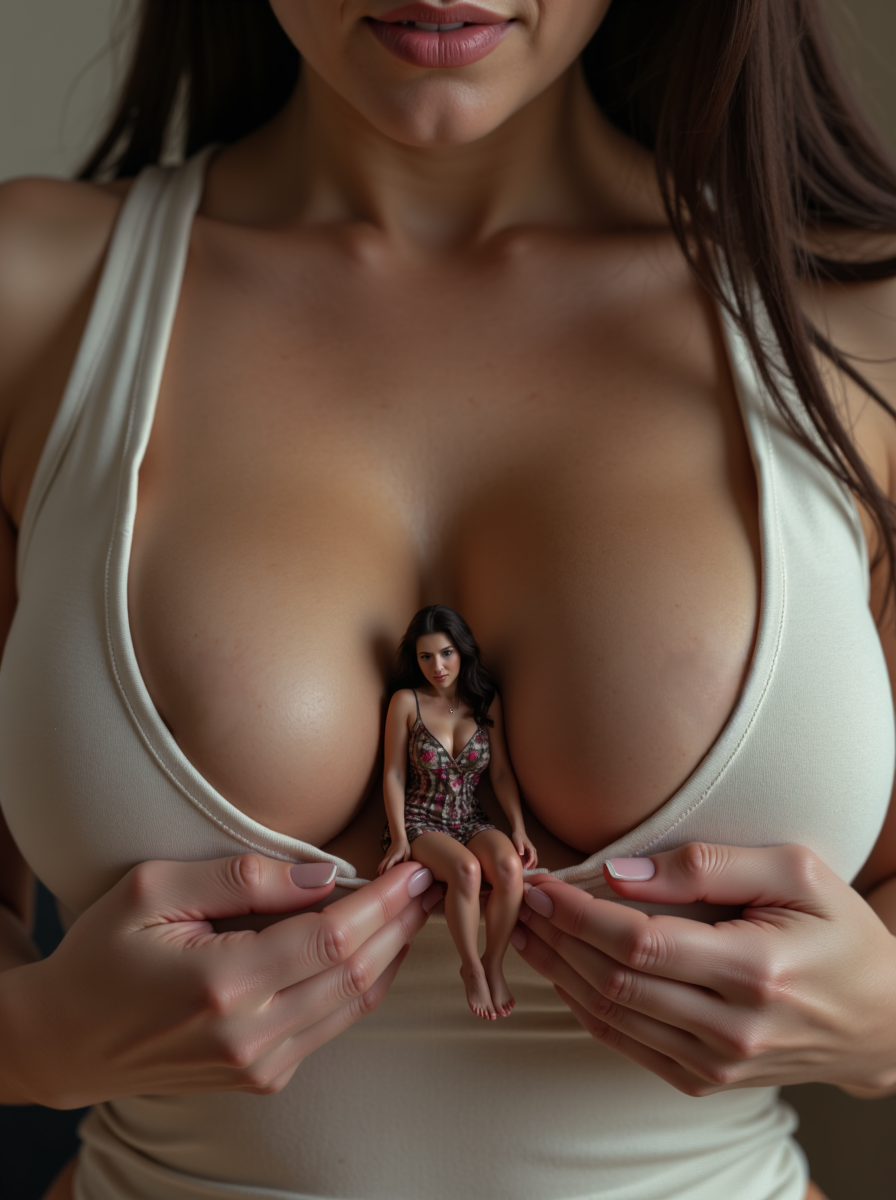
I’m probably including way too many examples…and some of them are honestly not that great, but it took me forever to figure this shit out, and effort to build a custom component to display them on this site, so you get to see all of em’. The sequence viewer actually helped show me some issues I initially missed, so kind of nice to be able to see how each generation of the image progresses like this.